How to Pipe a Simple Rainbow Arch on a Small Cake Without Structural Toppers
This project helps you place a low rainbow-like frosting motif directly on a stable cake surface. Begin with fully baked, completely cooled cake or cupcakes from a trusted recipe or bakery, plus frosting and fillings prepared according to reliable published or manufacturer directions. The article provides original layout and execution guidance; it does not claim that a new cake recipe or shelf life has been tested. Choose the scale you can support, store and transport, and read the linked technique references alongside the directions for your actual ingredients.
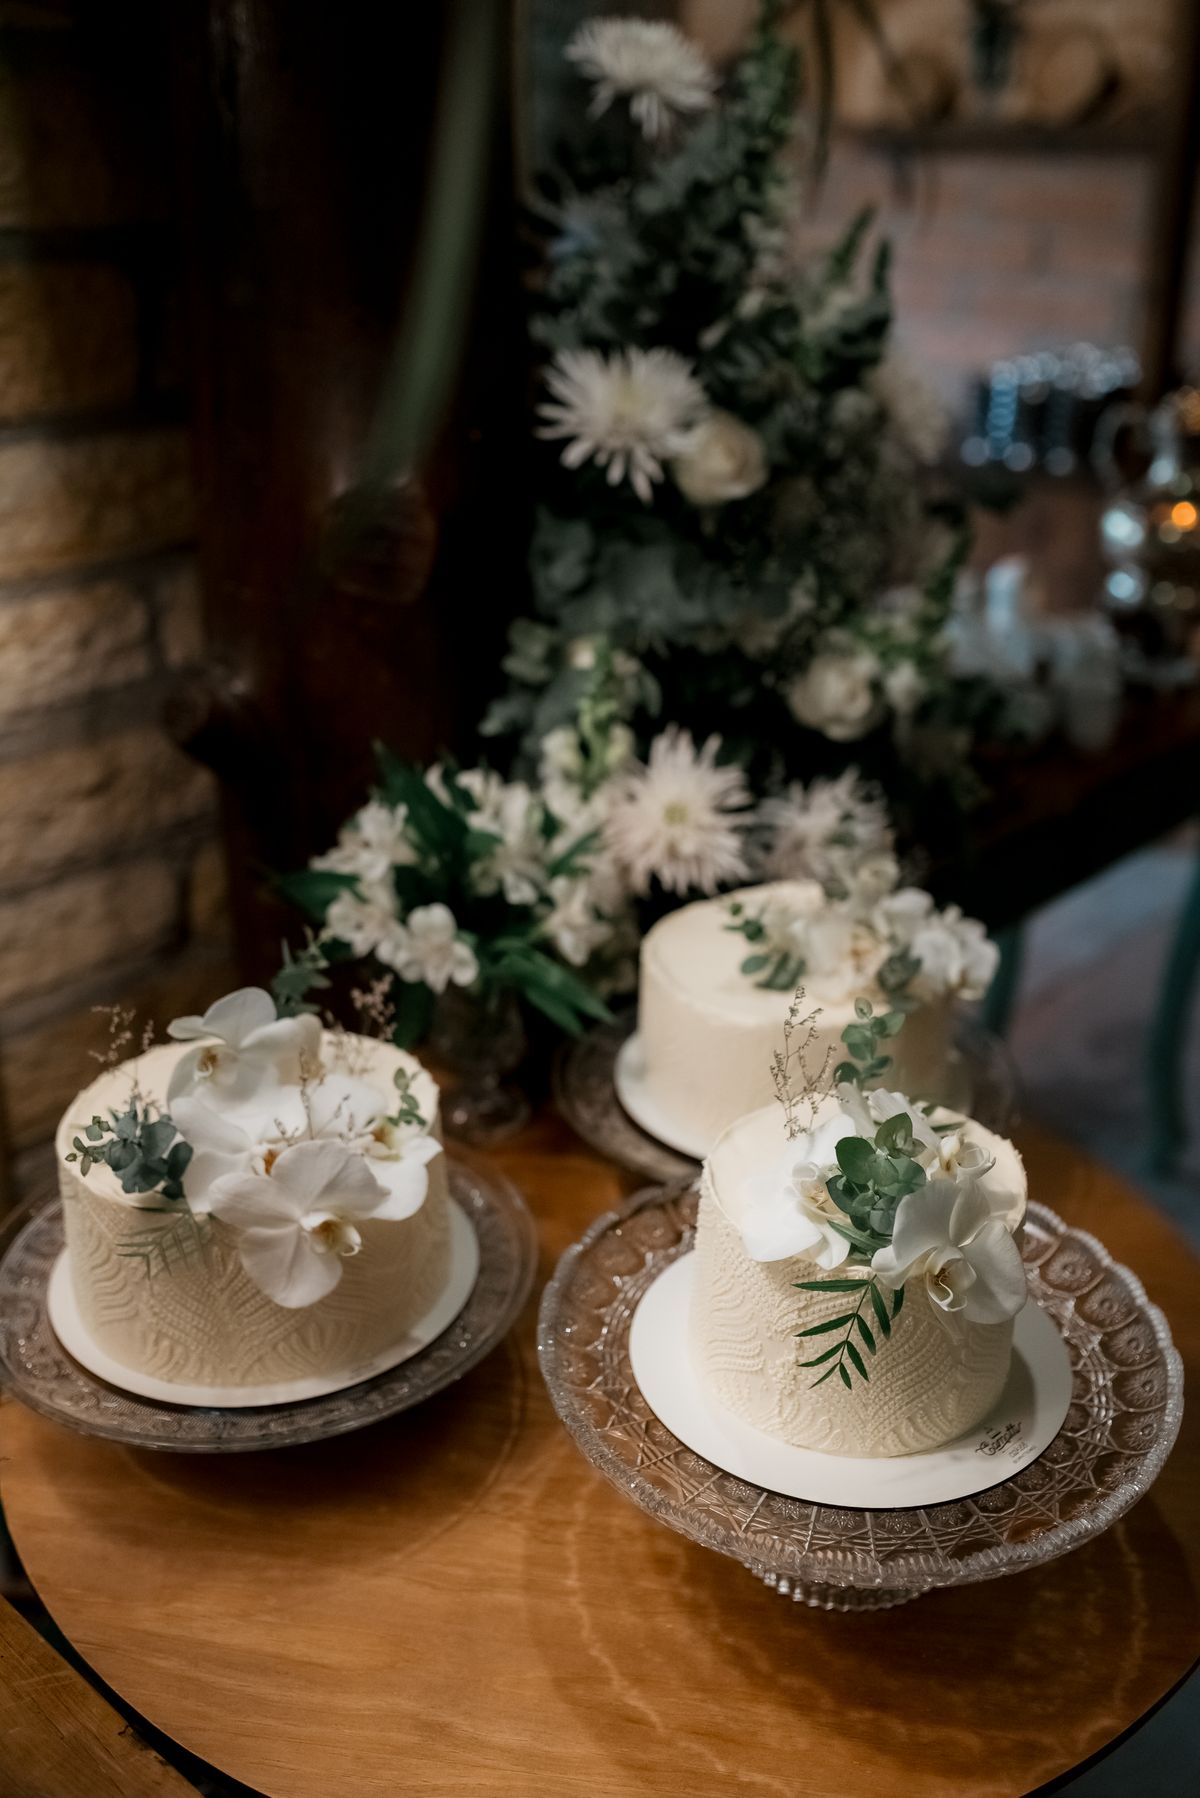
Photo: Pexels · License. Illustrative stock photography; pictured people, products and settings are not claimed to demonstrate this exact guide or endorse this publication.
Keep the motif on the surface
This project creates a low piped arch, not a freestanding structural topper. That keeps the design within an approachable decorating task. Choose a top area or another stable surface you can reach comfortably. Do not add hidden wire or sticks to imitate a photograph of a more complex supported decoration.
Plan a small palette
Use a few related colors rather than preparing many portions by habit. Food-labeled coloring must be compatible with the frosting and used as directed. Exact digital color reproduction is not guaranteed. A limited palette can make the curves clearer and reduce the number of bags needed for a small cake.
Use one reliable frosting
Divide prepared frosting from a trusted source so the portions have comparable behavior. Check that each can hold the intended line. If coloring changes one portion, consult the source's adjustment guidance. Do not invent a new ratio. A clear arch depends on workable frosting before it depends on color order.
Sketch the curve sizes
Draw the longest curve and inner curves at approximately the cake's scale. Leave enough space between them and around the motif. The paper is a planning aid kept separate from food. A simple layout prevents the last inner curve from crowding the center or forcing the whole design to become larger.
Practice the outer line
Use a suitable bag opening and pipe a controlled curve on a clean plate. Keep pressure and movement coordinated, then stop before lifting. If the line breaks, check the frosting and motion. Starting with the largest curve makes it easier to judge whether the planned motif fits before all colors are used.
Add inner curves deliberately
Work inward with smaller curves, checking spacing after each. Keep the design low rather than building repeated layers to hide a wobble. If a line fails, reset that section locally. Natural hand-piped variation is acceptable, but adding more frosting everywhere can turn a light motif into an indistinct mound.
Use accents sparingly
Small edible dots or simple star shapes can finish the ends if you like. Choose food-labeled decorations and keep the message area clear. The motif should remain readable without filling every gap. Avoid nonfood cloud toppers or hidden supports merely because they appear in a reference image.
Protect the low design
Check box clearance and stable level support. Follow the cake and frosting storage needs. The fact that all decoration is edible does not make a perishable filling safe at room temperature. Include practical handling information if the cake is a gift, using the actual components rather than a universal homemade-cake rule.
A worked decorating decision
Instead of making a tall freestanding rainbow topper, pipe a small arch motif on the cake's top. Practice the longest outer curve on a plate, then plan the smaller inner curves with visible spacing. A few related colors can be sufficient; the motif does not need every possible shade. If the curves touch, decide whether the merged style is acceptable rather than adding more lines until the center fills completely. The decoration stays low and edible, so it does not require hidden wires, sticks or a support guarantee.
Finish with a clear project record
Record the cake's actual size, the prepared components, the tools and the layout that helped you place a low rainbow-like frosting motif directly on a stable cake surface. Note the first controllable problem rather than labeling the entire attempt a failure. A frosting-condition issue, an oversized motif and a box-clearance problem require different corrections. Practice a new motion on a clean plate, then keep the first real example as a scale reference for the rest. You do not need to use all remaining frosting or every purchased decoration. A simpler coherent result is often easier to serve and transport. For another occasion, repeat the useful decisions and change only the part that needs improvement.
Your working checklist
Checkmarks stay in this browser when storage is available. They do not submit information or complete a purchase.
Put it into practice
- Plan a low arch motif and clear surrounding area on paper.
- Divide prepared frosting into a small food-safe color palette.
- Practice the outer curve and pressure release on a clean plate.
- Pipe the longest curve first on the stable frosting surface.
- Add smaller inner curves with controlled spacing and optional edible dots.
- Check the design from ordinary distance and box with clearance.
Before you finish
- The design achieves the intended task to place a low rainbow-like frosting motif directly on a stable cake surface, without unrelated extra decoration added by habit.
- Cake is fully baked and cooled, prepared components follow a reliable source, and any tools or decorations contacting food are suitable for that use.
- The first motif or application has been tested separately where appropriate; one successful real example establishes scale for the remainder.
- Board, box, storage and serving plans fit the finished cake, including all relevant refrigeration and time-out-of-cold requirements.
Common questions
Is this a complete baking recipe?
No. It is a decorating and assembly project designed to place a low rainbow-like frosting motif directly on a stable cake surface. Use a trusted cake recipe or bakery product and follow the frosting or filling source exactly. Ingredient ratios, baking times and yields are not invented here. A decorating method cannot establish that an untested baking substitution will work.
What should I do if the frosting behaves differently from the example?
Stop and check its preparation and working-condition guidance before adding random liquid or sugar. Revisit “Sketch the curve sizes” and test a small portion away from the cake. Different finished formulas can behave differently. Pressure, tool setup and temperature may need a source-supported adjustment rather than a larger quantity of frosting.
How long can the decorated cake stay out?
There is no single answer for every cake. Follow the strictest directions for its ingredients. USDA advises that perishable food should not remain unrefrigerated beyond two hours, or one hour above 90°F; decorating, transport and display count together. Keep required cold food at 40°F or below and use the actual recipe or package requirements.
Can I add flowers, glitter or a decorative topper?
Use only decorations intended for food where they contact edible surfaces, and check their ingredient information. Craft glitter and florist flowers are not automatically edible or appropriate. A nonedible topper must be suitable for its intended placement, identifiable and removed before serving. The project does not require hidden structural supports or complex heavy decoration.